
Clean, limescale-free bathroom
Sara IdenforsIn this post, we explore how to clean the bathroom effectively and safely without having to use harsh chemicals. We discuss the importance of using the right tools and methods to keep tiles, floor tiles, and grout clean and free from mold and limescale deposits. We also provide step-by-step instructions for achieving a sparkling clean result using Soapa and vinegar. Finally, we share some tips for avoiding the spread of microbes in the home by using separate cleaning tools for the bathroom and kitchen.
_
A clean, limescale-free bathroom is of course wonderful, but it is not always easy to achieve. With the right things and a few tips and tricks, however, it becomes a breeze, and there is no need for harsh chemicals or brutal methods. Soapa, a brush, and a little vinegar work perfectly well.
Tiles and floor tiles need to be cleaned a little more thoroughly from time to time than simply “spray and wipe.” Limescale, soap residue, skin deposits, and various types of mold settle in the grout and can actually begin to grow there.
It is common for bathrooms to be affected by fusarium, a type of mold that usually appears as a slimy red or pink coating in joints, grout lines, or around the floor drain. It thrives in a damp, slightly acidic environment, so alkaline Soapa is a good choice for keeping it away.
This needs to be scrubbed away, and Soapa works excellently for this. There is “advice” saying that you should not use soap or that soap cannot be used on tiles, floor tiles, and grout, but I would argue that this is incorrect. Soapa is a type of soap; they are very “closely related,” and surely no one has ever heard of building bathrooms where soap cannot be used?!
I would even argue that the whole point of having a bathroom is to use soap in it!
If you are still unsure, I can reassure you with these pictures of our old bathroom. It has tiles on the walls and floor tiles on the floor, including in the shower, and the grout is light gray. This bathroom has been scrubbed with Soapa for 24 years and is still quite nice ;)
Here, I deliberately refrained from scrubbing for a while so I could show in pictures and video what it looks like and how it works.
Here you can see the area before scrubbing with Soapa on the left and afterward on the right. A soft brush and bathroom Soapa were used here.
Step by step
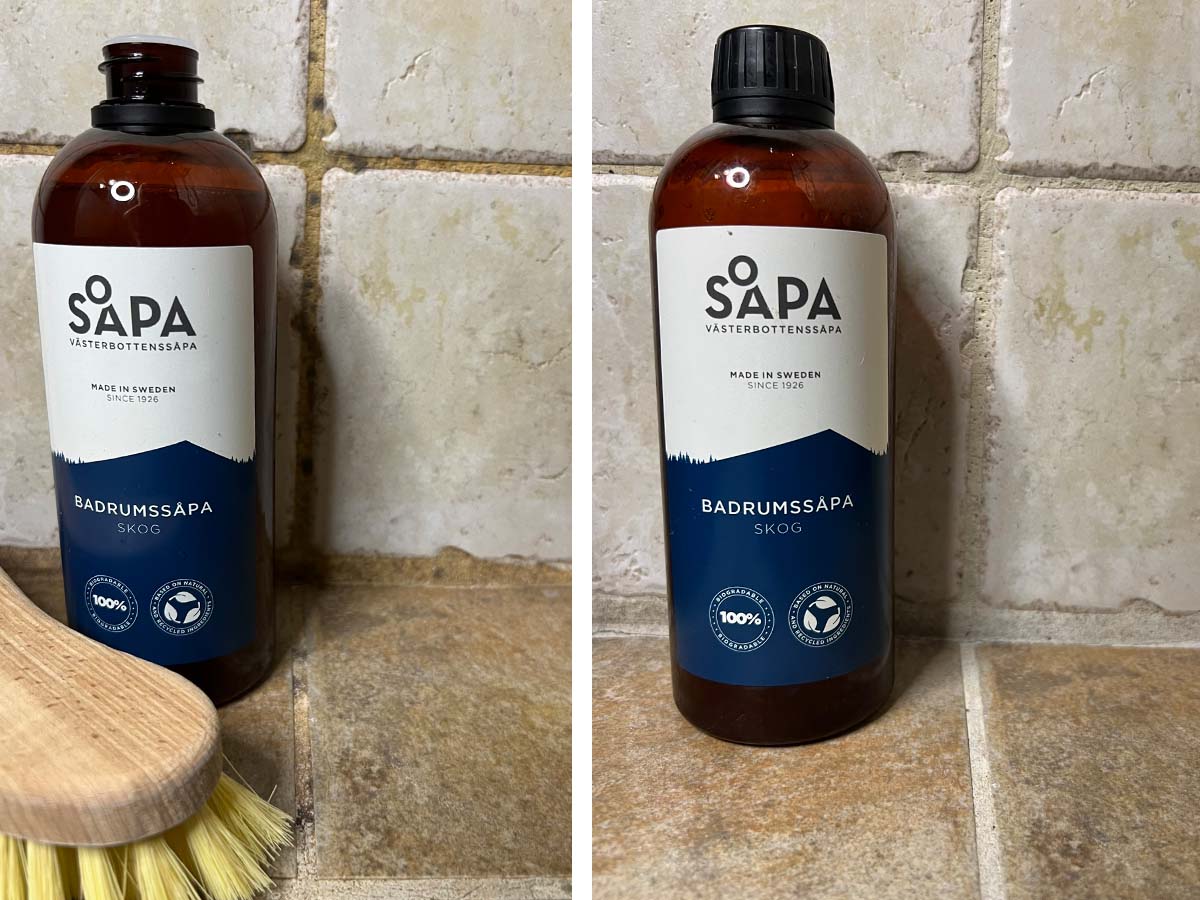
1. Scrub the grout and tiles with bottled bathroom Soapa, liquid, a scrub brush, and a little warm or lukewarm water. Rinse. The tiles will not be slippery at all if you rinse them, but if you leave product on the surface, it may become slippery. Almost any product left on the surface will make it slippery.
2. I clean other surfaces with a scrubbing sponge and Soapa to make sure that everything that is not limescale has been removed. Once this is done, it becomes clear whether there is limescale that has settled on the surface layers.
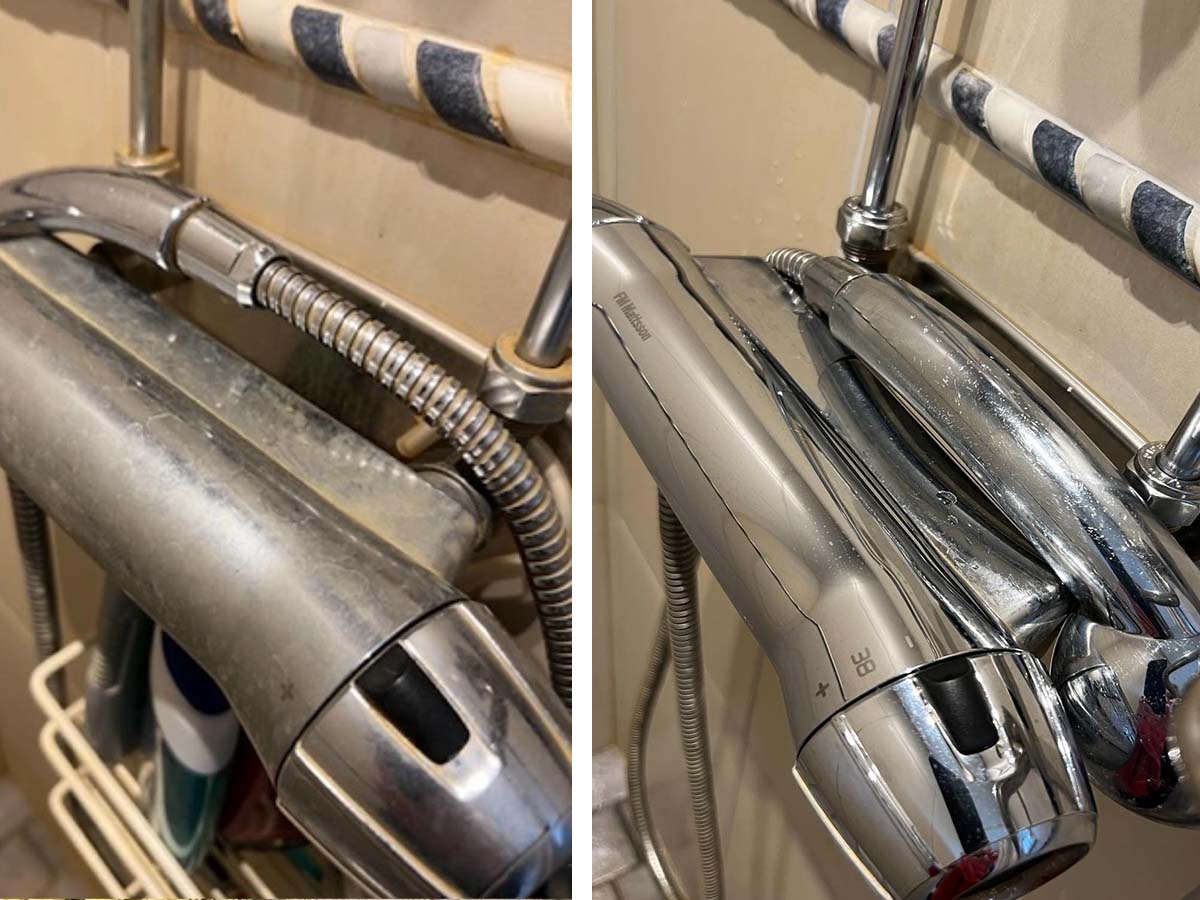
3. If there is any limescale, which is common on shower walls and faucets, simply apply vinegar to a sponge or cloth. Do not spray vinegar, as it can irritate the airways. Be very careful if you use a strong vinegar solution or vinegar in a glass bottle. It is very easy to break glass bottles while cleaning and injure yourself or crack the bathroom fixtures. Vinegar should be kept well away from children and animals and must not be consumed.
I use Västerbottenssåpa vinegar in a plastic bottle, which is 15% and suitable for cleaning. I apply it directly to a sponge or cloth and wipe. If there is a lot of old limescale, the vinegar may need to remain on the surface for a while to work.
We have put together a kit with everything you need to clean the bathroom. You can find the kit here.
4. For the other surfaces in the bathroom, it is usually enough to spray with bathroom Soapa and wipe. Remember to use a special cloth for the toilet; it must not be used anywhere else. If the toilet seat can be removed, I always do so. I place it over the shower floor drain and scrub it with Soapa as well. The seat fittings in particular are easiest to clean this way. Rinse and put it back.
-
TIP: Places that are often forgotten include the underside of the toilet tank and the base of the toilet.
5. Polish the mirrors and faucets, and you are done ;)
- TIP: The spread of microbes in the home is a common cause of illness and something no one wants to experience. A simple and effective way to avoid this is simply to use separate cloths, bottles, and brushes for the bathroom and kitchen. This way, you never risk spreading microbes between the rooms.
(Microbes can include anything from parasites such as pinworms to viruses and bacteria.)
____________________________________________________________________________
Questions and Answers
Why is alkaline Soapa a good choice for keeping mold away from bathroom grout?
Alkaline Soapa is a good choice because mold thrives in damp and acidic environments, while alkaline Soapa creates an inhospitable environment for mold growth.
Which tool and product are recommended for cleaning tiles and floor tiles in the bathroom?
To clean tiles and floor tiles, a scrub brush and bathroom Soapa are recommended, effectively removing dirt and keeping the surface clean.
Why is it important to use separate cleaning tools for the bathroom and kitchen?
It is important to prevent the spread of microbes between rooms in order to prevent illness. Using separate cloths, bottles, and brushes reduces the risk of microbes being transferred from one surface to another.
Clean the entire bathroom with the Västerbottenssåpa Clean & Limescale-Free Bathroom Kit
View all products